Onclick Event How to Capture Clicking Button Again to Do Another Action
Whenever yous visit a website, you'll probably click on something like a link or button.
Links have yous to a sure part of the page, another page of the website, or another website entirely. Buttons, on the other hand, are ordinarily manipulated by JavaScript events and then they can trigger sure functionality.
In this tutorial, nosotros are going to explore the ii different ways of executing click events in JavaScript using two different methods.
First, we'll await at the traditional onclick style that you do right from the HTML page. Then nosotros'll see how the more modern "click" eventListner works, which lets you lot separate the HTML from the JavaScript.
How to Utilize the onclick event in JavaScript
The onclick event executes a sure functionality when a button is clicked. This could be when a user submits a form, when you change certain content on the web page, and other things similar that.
You identify the JavaScript office you desire to execute inside the opening tag of the button.
Bones onclick syntax
<element onclick="functionToExecute()">Click</element> For case
<push onclick="functionToExecute()">Click</button> Notation that the onclick aspect is purely JavaScript. The value it takes, which is the function you want to execute, says it all, as information technology is invoked right within the opening tag.
In JavaScript, you invoke a part by calling its name, then you put a parenthesis after the office identifier (the name).
onclick event instance
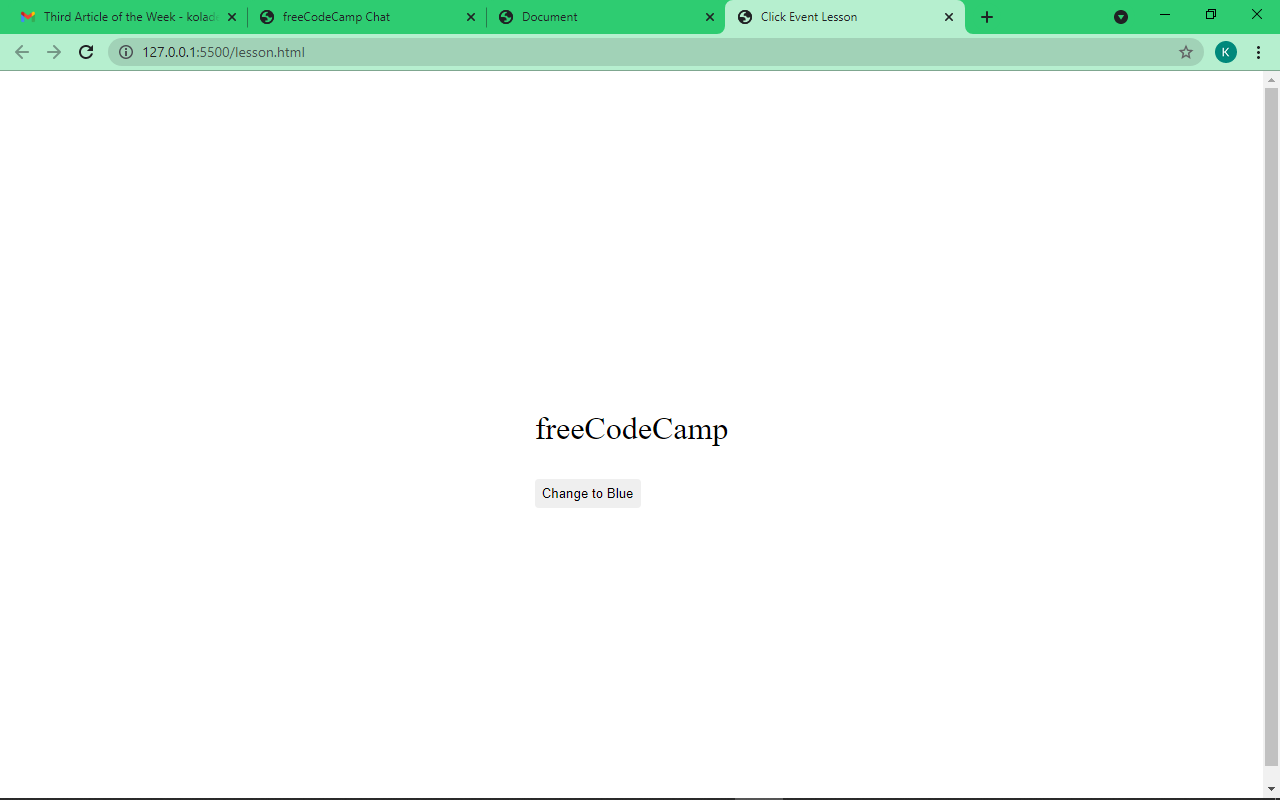
I accept prepared some basic HTML with a piddling bit of styling so we can put the onclick consequence into existent-world practice.
<div> <p class="name">freeCodeCamp</p> <button>Change to Blue</push button> </div> And here's the CSS to make it look skillful, forth with all the residue of the case lawmaking:
body { display: flex; align-items: center; justify-content: center; tiptop: 100vh; } p { font-size: 2rem; } button { padding: 7px; border: none; border-radius: 4px; cursor: pointer; } button.bluish { background-color: #3498db; } button.green { background-colour: #2ecc71; } button.orange { background-color: orangered; } So, on the web folio, this is what we take:
Our aim is to change the color of the text to blue when nosotros click the button. So we need to add an onclick attribute to our push, then write the JavaScript function to change the colour.
So we demand to brand a slight change in our HTML:
<div> <p class="name">freeCodeCamp</p> <button onclick="changeColor()">Change to Bluish</button> </div> The function we desire to execute is changeColor(). So we need to write it in a JavaScript file, or in the HTML file within a <script> tag.
If yous desire to write your script in a JavaScript file, y'all need to link information technology in the HTML using the syntax beneath:
<script src="path-to-javascript-file"></script> If yous want to write the script in an HTML file, only put it inside the script tag:
<script> // Your Scripts </script> Now, let's write our changeColor() function.
Beginning of all, we demand to select the element we desire to manipulate, which is the freeCodeCamp text inside the <p> tag.
In JavaScript, you lot do that with the DOM's getElementById(), getElementsByClassName(), or the querySelector() methods. Then you store the value in a variable.
In this tutorial, I will exist using querySelector() because it is more modernistic and information technology's faster. I volition as well be using const to declare our variables instead of let and var, because with const, things are safer as the variable becomes read-only.
const name = document.querySelector(".name"); Now that we take the text selected, allow's write our function. In JavaScript, the basic function syntax looks like this:
function funcctionName () { // What to practice } So let's write our function:
function changeColor() { name.style.colour = "blueish"; } What'south going on?
Remember from the HTML that changeColor() is the function nosotros are going to execute. That's why our function identifier (name) is prepare to changeColor. If the name doesn't correlate with what's in the HTML, it won't work.
In the DOM (Document Object Model, refers to all of the HTML), to alter annihilation that relates to style, yous need to write "way" so a dot (.). This is followed by what y'all want to change, which might exist the colour, groundwork color, font size, and so on.
So, within our function, nosotros take the name variable we alleged to become our freeCodeCamp text, then we change the color to blue.
The color of our the text turns bluish any time the button is clicked:
Our code is working!
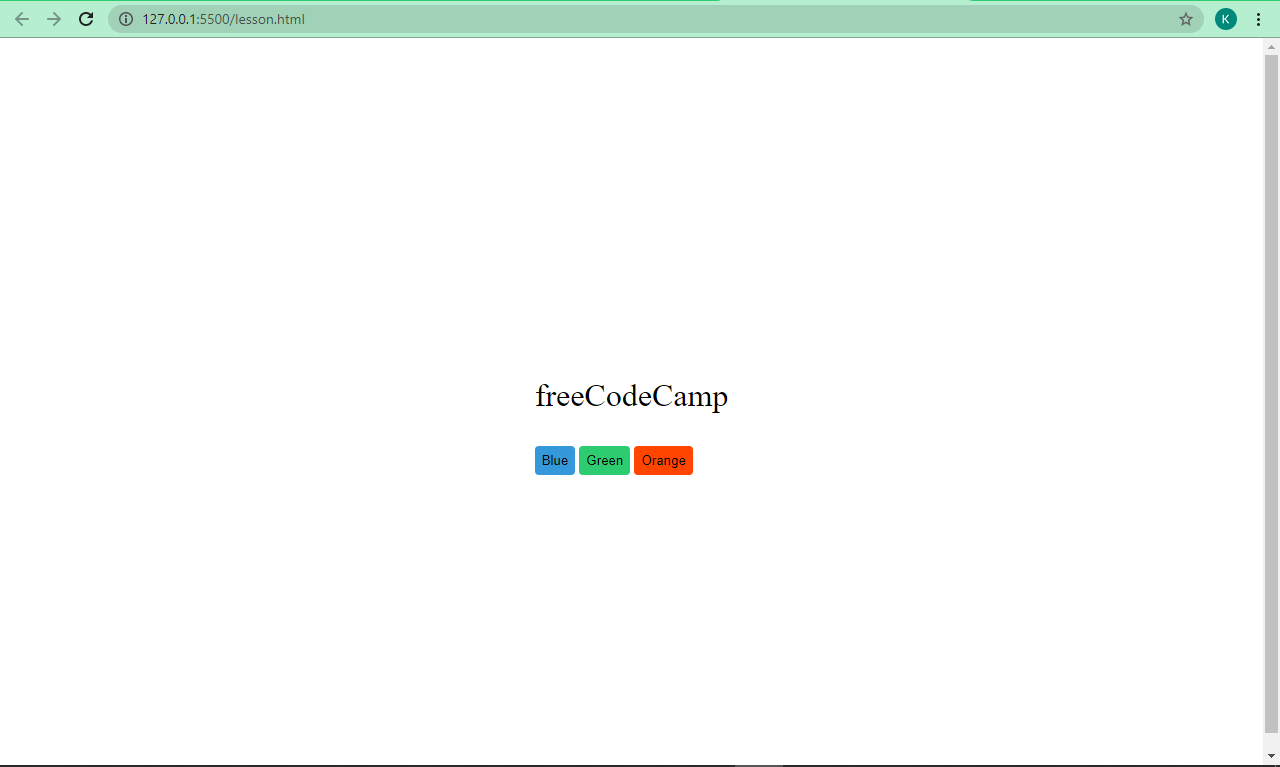
Nosotros could take things a lilliputian scrap further past changing our text to be more than colors:
<div> <p class="name">freeCodeCamp</p> <push onclick="changeColor('blueish')" class="bluish">Blue</button> <push button onclick="changeColor('green')" class="green">Light-green</push button> <button onclick="changeColor('orangered')" grade="orange">Orange</button> </div> So, what we want to do is modify the text to bluish, green, and orange-ruby-red.
This fourth dimension effectually, the onclick functions in our HTML take the values of the color we want to change the text to. These are called parameters in JavaScript. The function we'll write takes its own likewise, which nosotros volition call "color".
Our spider web page changed a little:
And so, let'due south select our freeCodeCamp text and write the office to change its colour to blueish, green, and orange-red:
const name = document.querySelector(".name"); office changeColor(colour) { name.way.color = colour; } The block of code in the part takes the proper noun variable (where we stored our freeCodeCamp text), then set up the color to whatever we passed into the changeColor() functions in the HTML buttons.

How to Use the click eventListener in JavaScript
In JavaScript, in that location are multiple ways of doing the same affair. As JavaScript itself evolved over time, we started needing to split the HTML, CSS, and JavaScript code in order to comply with best practices.
Outcome listeners make this possible as they let you separate the JavaScript from the HTML. You tin also practice this with onclick, but lets take another arroyo here.
Basic eventListener syntax
element.addEventListener("type-of-event", functionToExecute) Now, let'southward change the freeCodeCampt text to blue past using the click eventListner
This is our new HTML:
<div> <p class="name">freeCodeCamp</p> <push>Change Color</push> </div> And this is what information technology looks like:

This fourth dimension around in our script, nosotros demand to select the push button also (non merely the freeCodeCamp text). That's because there'south goose egg JavaScript in the opening tag of our button, which is cool.
So, our script looks similar this:
const name = document.querySelector(".name"); const btn = document.querySelector("push"); btn.addEventListener("click", function () { name.way.color = "blue"; }); We can as well split up our function totally from the eventListener and our functionality will still remain the same:
btn.addEventListener("click", changeColor); function changeColor() { name.style.color = "blue"; } 
How to Build a " Bear witness More" and "Show Less" Button with JavaScrpit
One of the best ways to acquire is past making projects, and so permit'southward take what we've learned well-nigh the onclick and "click" eventListner to do build something.
When you visit a web log, you ofttimes see excerpts of articles kickoff. Then you can click on a "read more" button to show the rest. Permit'southward attempt to do that.
This is the HTML nosotros are dealing with:
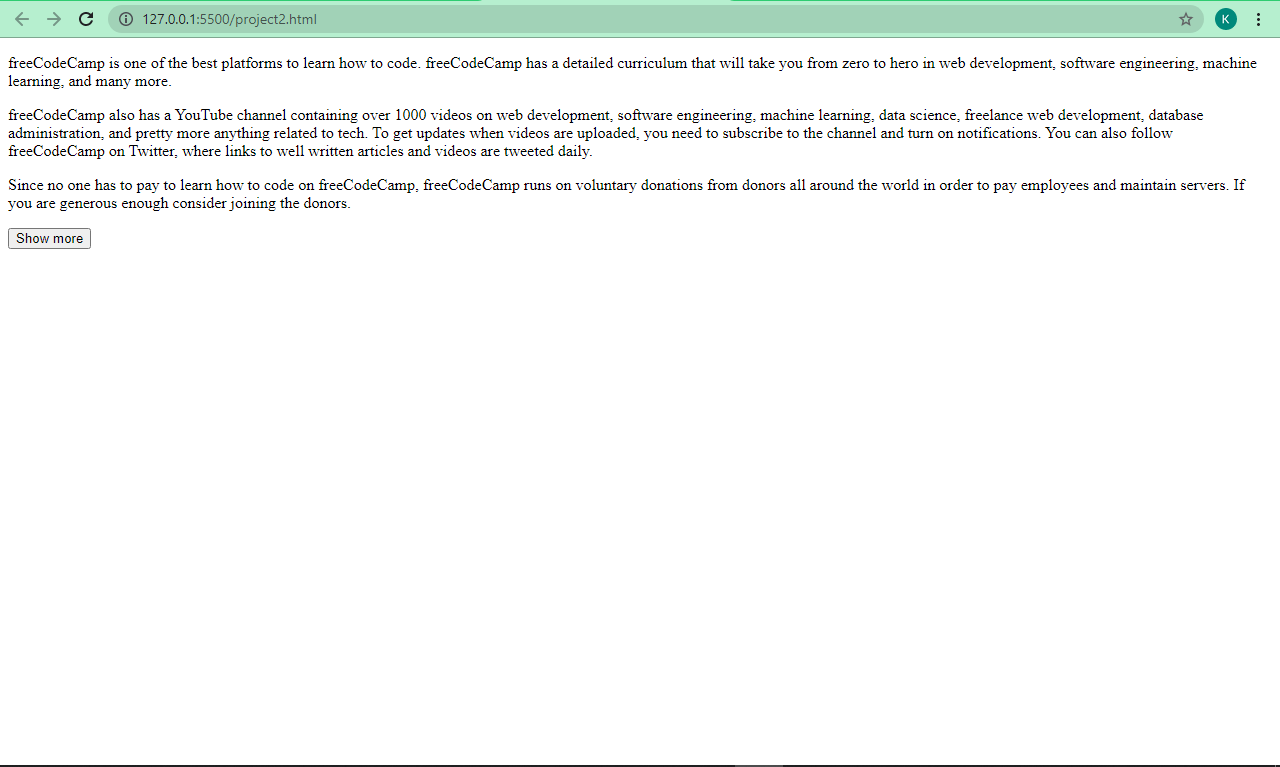
<article id="content"> <p> freeCodeCamp is 1 of the best platforms to learn how to lawmaking. freeCodeCamp has a detailed curriculum that will have you from goose egg to hero in spider web evolution, software engineering, machine learning, and more. </p> <p> freeCodeCamp also has a YouTube aqueduct containing over chiliad videos on web development, software engineering science, machine learning, data scientific discipline, freelance web development, database assistants, and pretty much anything related to tech. To get updates when videos are uploaded, you need to subscribe to the channel and plow on notifications. Y'all can too follow freeCodeCamp on Twitter, where links to well written manufactures and videos are tweeted daily. </p> <p> Since no 1 has to pay to learn how to code on freeCodeCamp, freeCodeCamp runs on voluntary donations from donors all around the world in order to pay employees and maintain servers. If you are generous enough consider joining the donors. </p> </commodity> <button onclick="showMore()">Prove more</push> It'southward simple HTML with some facts about freeCodeCamp. And there's a button we already attach an onclick to. The function we desire to execute is showMore(), which we will write soon.
Without a CSS, this is what we have:
It's non super ugly, only we can make it look ameliorate and act the style we want it to. And so we have some CSS which I will explain below:
<style> * { margin: 0; padding: 0; box-sizing: border-box; } body { background: #f1f1f1; brandish: flex; align-items: eye; justify-content: center; flex-direction: cavalcade; } article { width: 400px; groundwork: #fff; padding: 20px 20px 0; font-size: 18px; max-height: 270px; overflow: subconscious; transition: max-pinnacle 1s; text-align: justify; margin-peak: 20px; } p { margin-bottom: 16px; } article.open { max-elevation: 1000px; } button { background: #0e0b22; color: #fff; padding: 0.6rem; margin-top: 20px; border: none; border-radius: 4px; } button:hover { cursor: pointer; background: #1e1d25; } </fashion> What'due south the CSS doing?
With the universal selector (*), we are removing the default margin and padding assigned to elements so we tin add our own margin and padding.
We too have box sizing set to border-box so we can include the padding and edge in our elements' full width and peak.
Nosotros centered everything in the body with Flexbox and gave information technology a light greyness background.
Our <article> element, which contains the text, has a width of 400px, a white groundwork (#fff), and has a padding of 20px at the top, 20 on the left and correct, and 0 at the bottom.
The paragraph tags inside of information technology have a font-size of 18px, and then we gave them a maximum meridian of 270px. Due to the max height of the commodity chemical element, all the text won't exist contained and will overflow. To fix this, we set overflow to hidden in gild not to show that text at first.
The transition property ensures that every change happens after one second. All text within the commodity are justified and accept a margin top of 20 pixels so it doesn't stay too attached to the peak of the folio.
Because we removed the default margin, our paragraphs got all pushed together. And then we set a lesser margin of xvi pixels in society to separate them from i another.
Our selector, article.open, has a holding of max-elevation set to 1000px. This means that any time the article element has a course of open attached to it, the maximum height will change from 270px to 1000px to show the balance of the article. This is possible with JavaScript – our game changer.
We styled our button with a darkish background and made it white. Nosotros fix its border to none to remove HTML'due south default border on buttons, and we gave it a border radius of 4px so information technology has a slightly rounded edge.
Finally, we used the hover pseudo-form in CSS to change the button cursor to a pointer. The groundwork color slightly changes when a user hovers their cursor over information technology.
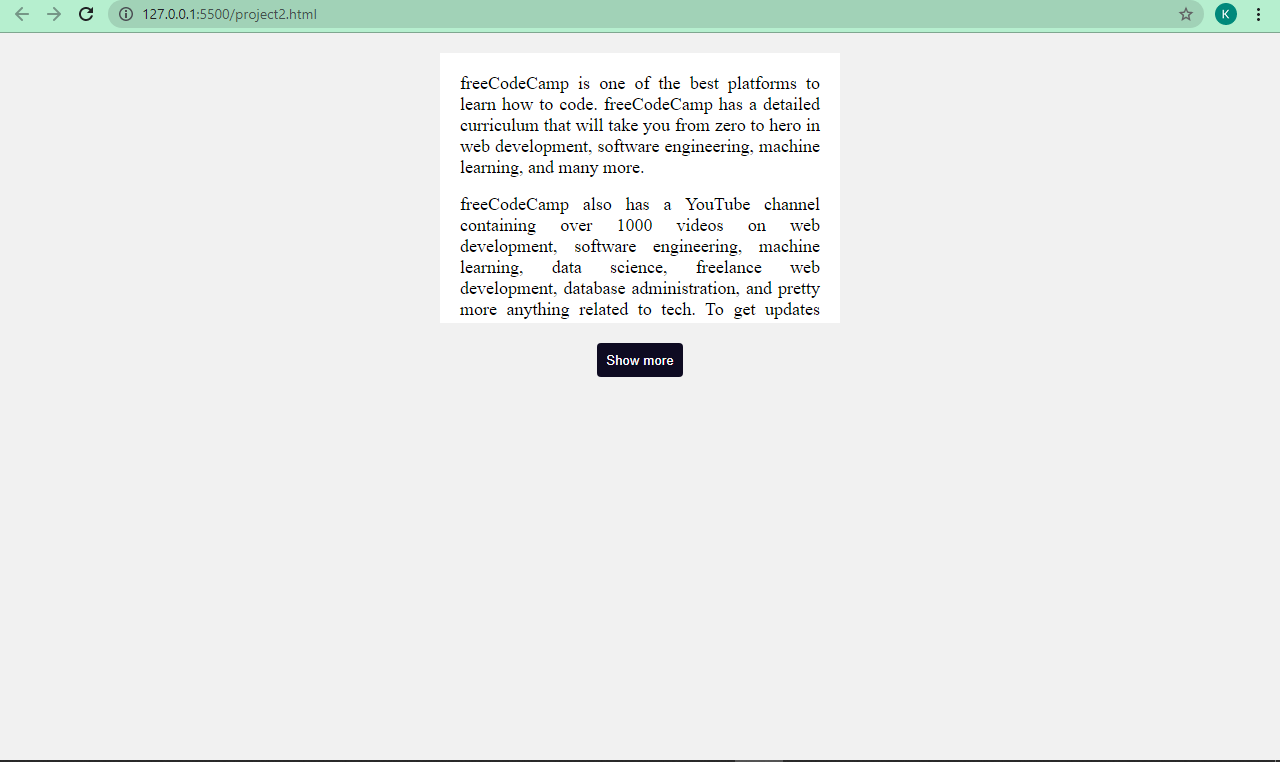
There we get – that'southward the CSS.
Our page at present looks amend:
The adjacent matter nosotros need to practise is to write our JavaScript so we tin can come across the rest of the article that is hidden.
We take an onclick attribute inside our push button opening tag set up to execute a showMore() function, so let's write the role.
Nosotros need to select our article first, considering we have to testify the remainder of it:
const commodity = document.querySelector("#content"); The next thing we need to do is write the function showMore() so we can toggle betwixt seeing the balance of the article and hiding it.
function showMore() { if (commodity.className == "open") { // read less commodity.className = ""; button.innerHTML = "Show more"; } else { //read more than article.className = "open up"; button.innerHTML = "Evidence less"; } } What is the function doing?
We utilise an if…else statement here. This is a crucial part of JavaScript that helps you make decisions in your code if a certain condition is met.
The bones syntax looks like this:
if (condition == "something") { // Do something } else { // Do something else } Here, if the form name of the article equals open (that is, we want to add together the class of open to it, which was set to a maximum meridian of 1000px in the CSS), and then we want to see the rest of the commodity. Else, we want the article to return to the initial state where a part of it is hidden.
We do this past assigning it a course of open in the else cake, which makes it show the rest of the article. Then we ready the form to an empty string (none) in the if block, which makes information technology return to the initial state.
Our code is working fine with a smooth transition:

We tin can dissever the HTML and JavaScript and still utilise onclick, because onclick is JavaScript. So it's possible to write this in a JavaScript file instead of starting from the HTML.
push.onclick = function () { if (article.className == "open") { // read less article.className = ""; button.innerHTML = "Show more"; } else { //read more than article.className = "open"; push button.innerHTML = "Show less"; } }; 
Nosotros can also exercise this using an eventListner:
<article id="content"> <p> freeCodeCamp is one of the best platforms to acquire how to lawmaking. freeCodeCamp has a detailed curriculum that will accept you from zero to hero in web development, software applied science, machine learning, and many more. </p> <p> freeCodeCamp too has a YouTube aqueduct containing over k videos on web evolution, software engineering, machine learning, data science, freelance web development, database administration, and pretty more anything related to tech. To get updates when videos are uploaded, y'all need to subscribe to the aqueduct and turn on notifications. You can also follow freeCodeCamp on Twitter, where links to well written articles and videos are tweeted daily. </p> <p> Since no one has to pay to learn how to code on freeCodeCamp, freeCodeCamp runs on voluntary donations from donors all around the world in order to pay employees and maintain servers. If you are generous enough consider joining the donors. </p> </article> <button id="read-more">Show more</button> const article = document.querySelector("#content"); const push button = certificate.querySelector("#read-more"); push.addEventListener("click", readMore); function readMore() { if (commodity.className == "open up") { // Read less article.className = ""; button.innerHTML = "Bear witness more"; } else { commodity.className = "open up"; button.innerHTML = "Show less"; } } Our functionality remains the same!
Decision
I promise this tutorial helps you empathize how the click result works in JavaScript. We explored ii unlike methods hither, so now yous can outset using them in your coding projects.
Thank you for reading, and go along coding.
Learn to code for gratuitous. freeCodeCamp's open source curriculum has helped more than 40,000 people get jobs every bit developers. Go started
villarealmucatinter.blogspot.com
Source: https://www.freecodecamp.org/news/html-button-onclick-javascript-click-event-tutorial/
0 Response to "Onclick Event How to Capture Clicking Button Again to Do Another Action"
Post a Comment